|
|
|
|
|
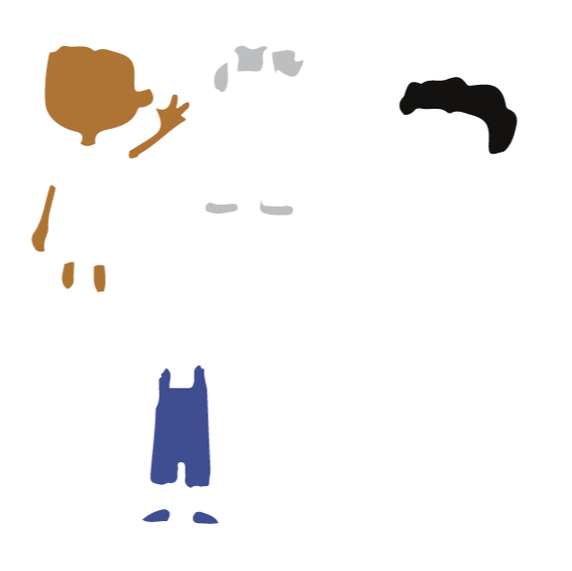
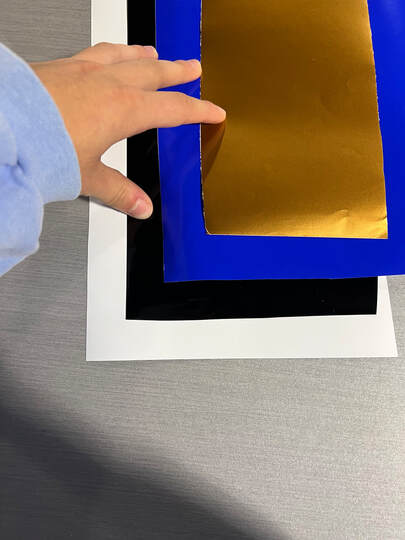
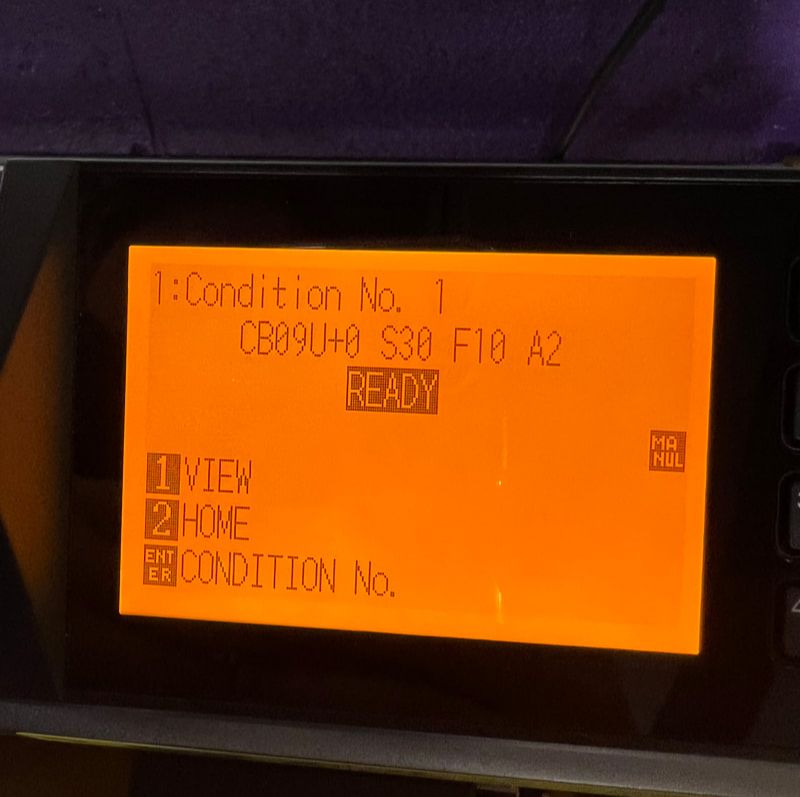
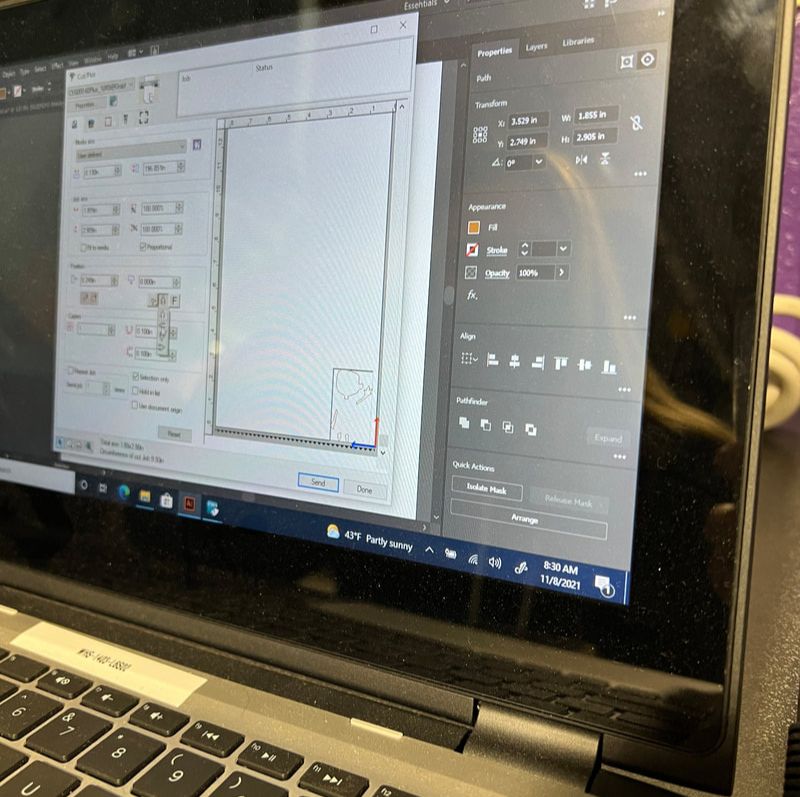
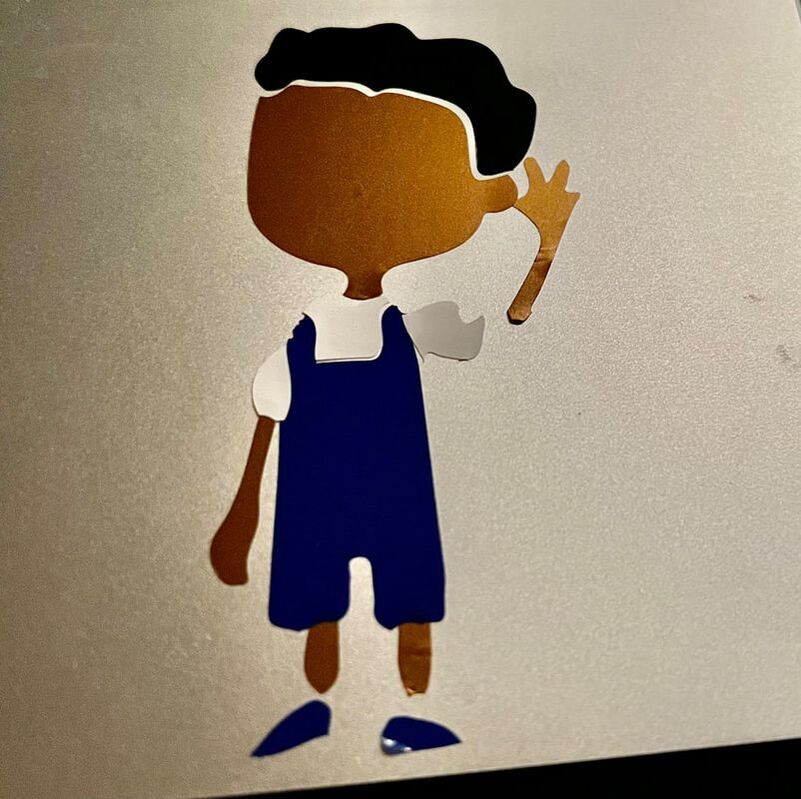
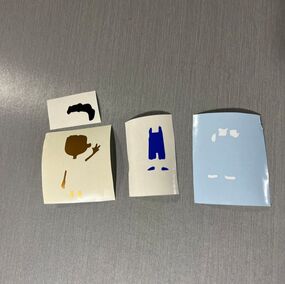
For this project, I started using illustrator to create the shapes for my decal. After selecting an image on the internet, I uploaded it into illustrator and separated all the different colors. For this project we needed a max of three but since I'm a little go-getter I opted for four-(that was a joke.) Anyway, once I had completed set up in illustrator, I saved it on my flash drive and then made my way down to the vinyl cutter. I chose my colors and measured them using the cutter to make sure they were large enough. Then I individually selected the color I wanted to cut out first. I started with his skin and went from there. Once putting them together, I layered them skin, jeans, shirt, hair. The final product is on the right. I really like the way it turned out and ended up putting it on my computer.
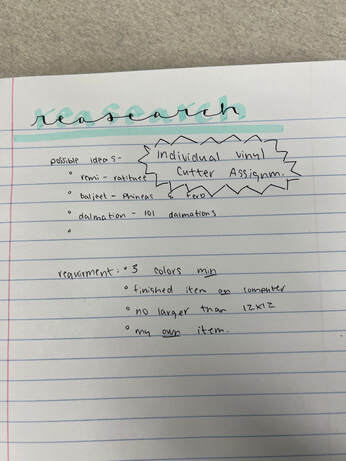
Research
Set up in illustrator, ready for cutting

Ready for Application
Final Product

Over the course of this project, I learned what a decal was, and how to strategically layer the colors to put one together. In illustrator, I learned out to trace an image, and select all the pieces in order to "group them." At the vinyl cutter itself, something I had no previous experience with, I learned how to set the colored paper on the cutter, and measure it to maker sure it could fit my design. I also learned smaller things such as how to put my decal together, weeding, using the squeegi, and applying it carefully. I enjoyed this project and like how my decal looks next to my mouse pad.

