Notebook
|
|
|
|
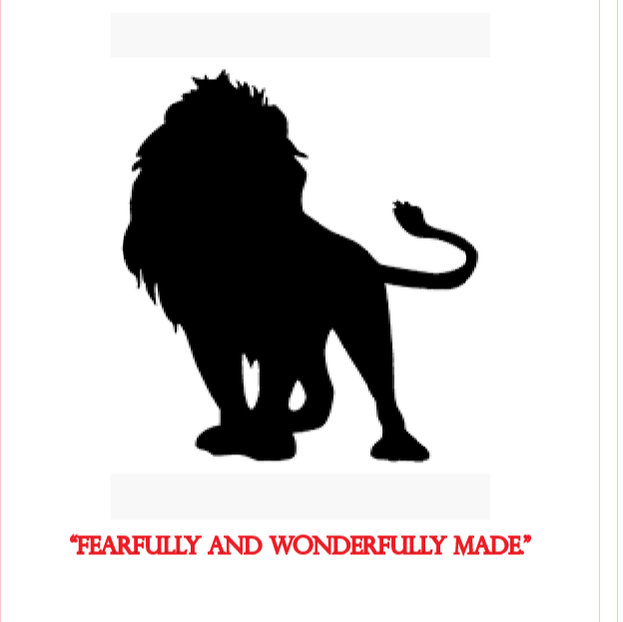
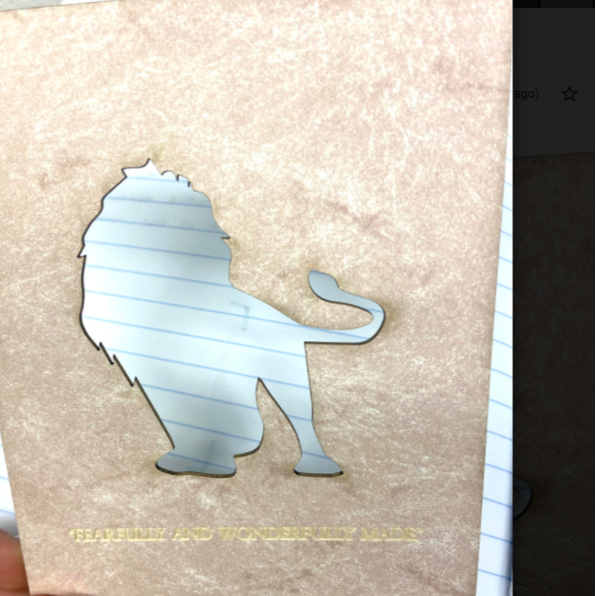
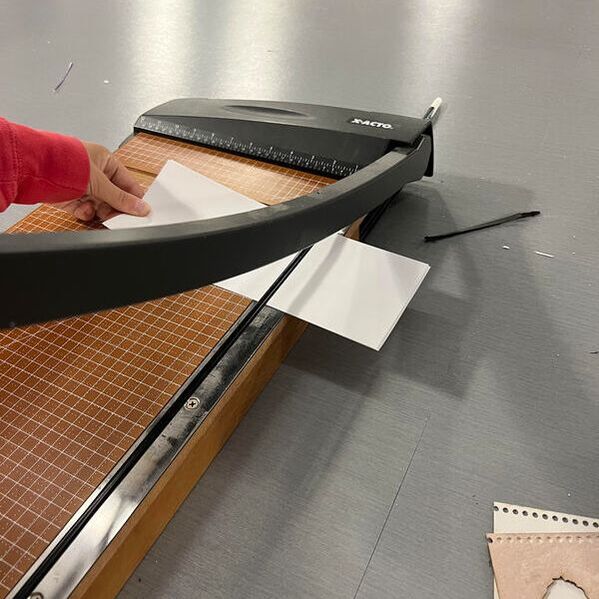
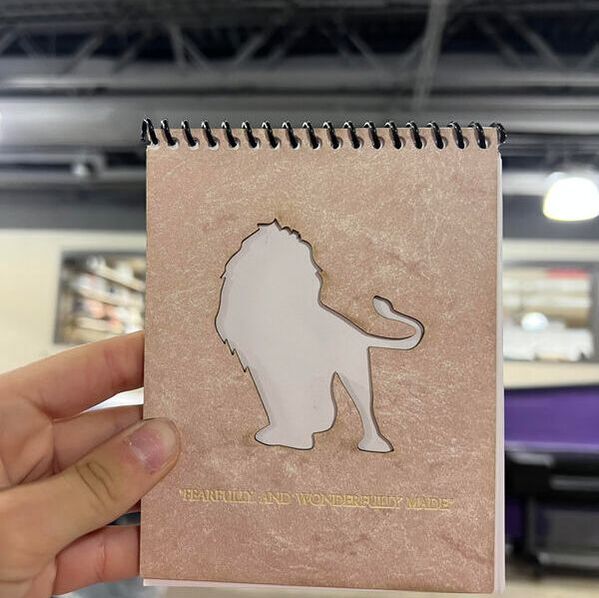
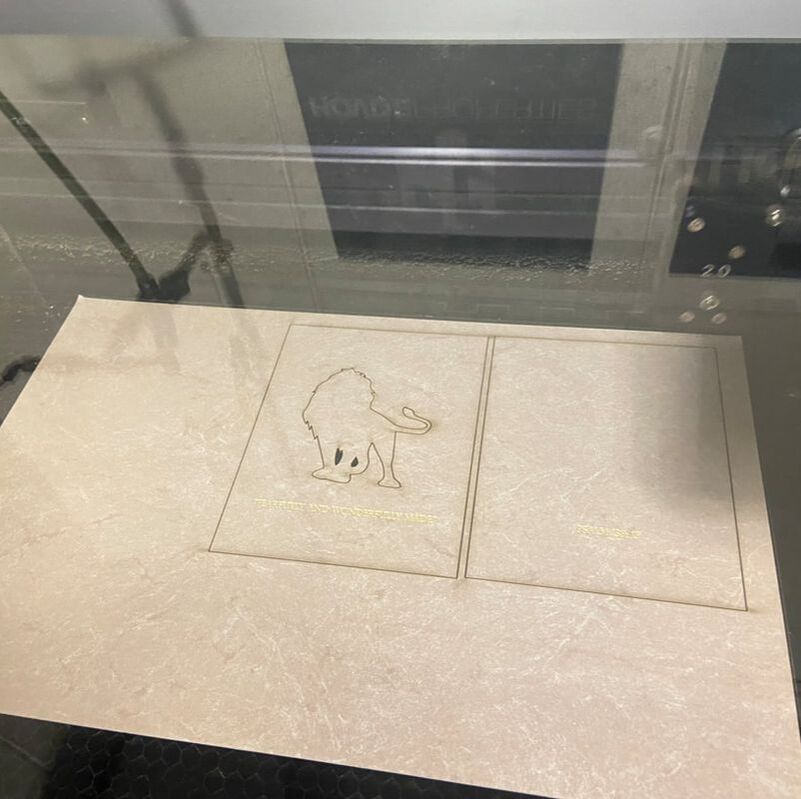
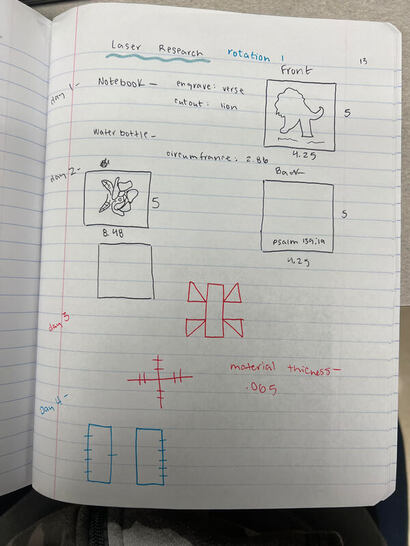
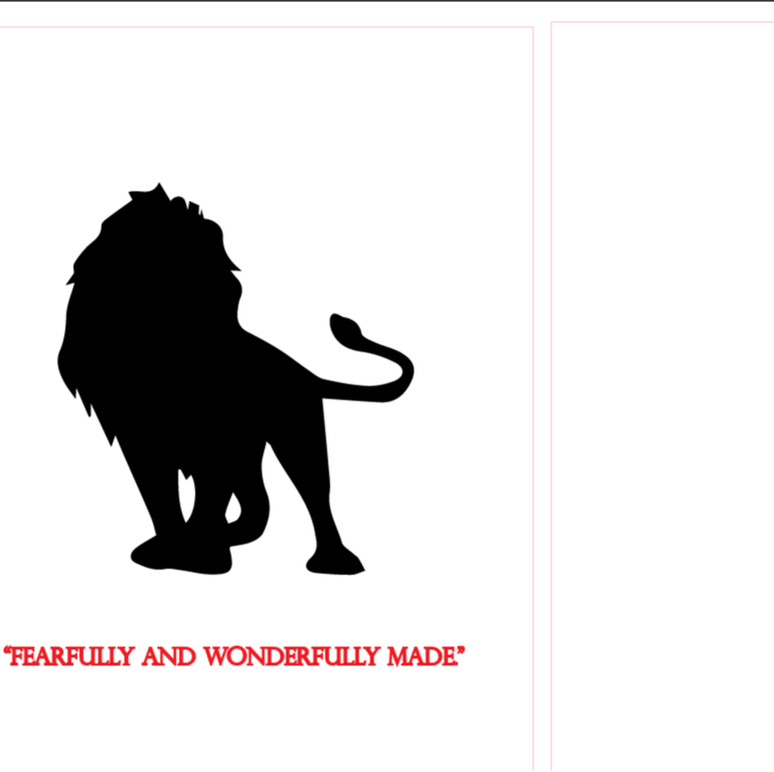
Notebook-I originally came up with the design on illustrator. I chose to cut out and image of a lion, and engrave one of my favorite verses-psalm 139:14, which I engraved on the back. From there, I used a flash drive to transfer that into the laser. Once it was all cut out, I was then able to cut out the paper for my notebook. After carefully lining it up in the paper cutter, I inserted the cord and it was all set!
Exhaust, laser-ON!
|
|

|
Using the laser for all projects.
Research
UCP/illustrator

|
|
|
Water Bottle
|

|

|
|
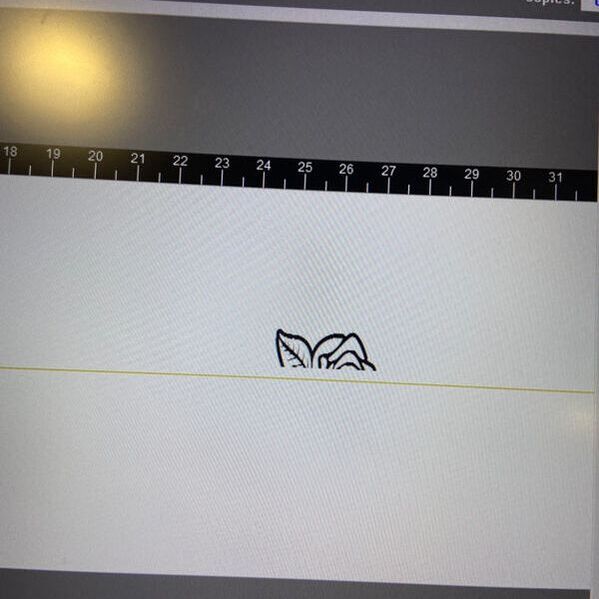
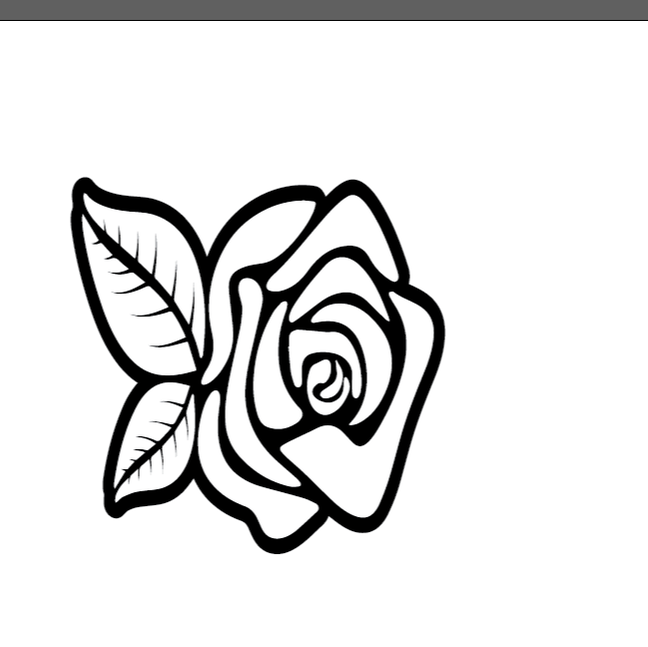
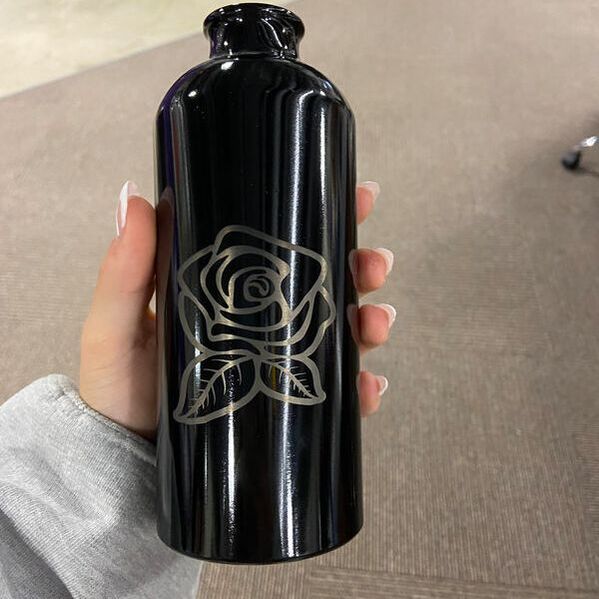
For my water bottle, I started designing my design in illustrator. I kept it simple and did a rose. My grandmas name is Roseanne so I might give it to her for her birthday. Anyway, once I finished adjusting the scale of the image, I transported it to the laser using my flash drive. What is unique about the water bottle, is we used something called a rotary jig. Since the side of our bottle is round, we need the jig to aid the laser in hitting the correct spot. *(In the ucp software we had to tell the laser we were using a rotary jig.) After all these steps were complete the final product turned out pretty well, (top right.)
Individual 3D Object
|
|
|
|
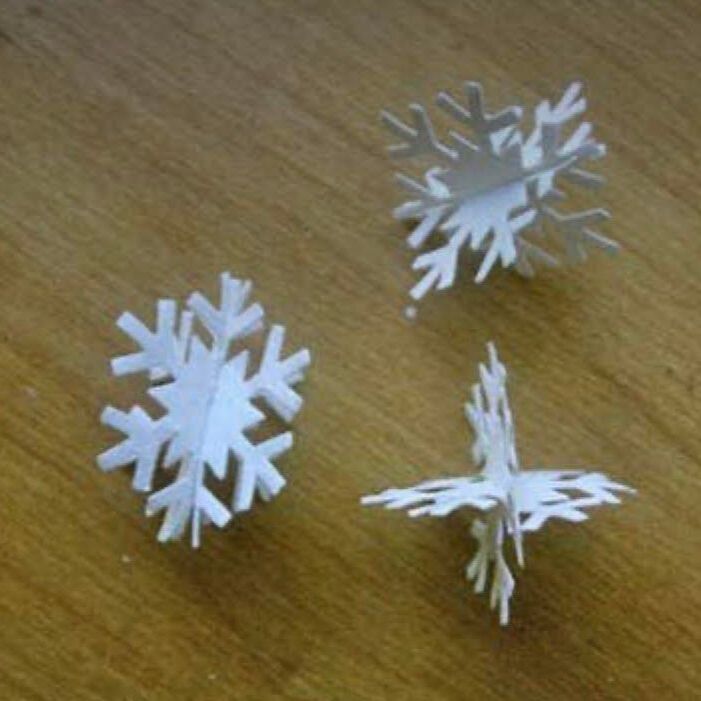
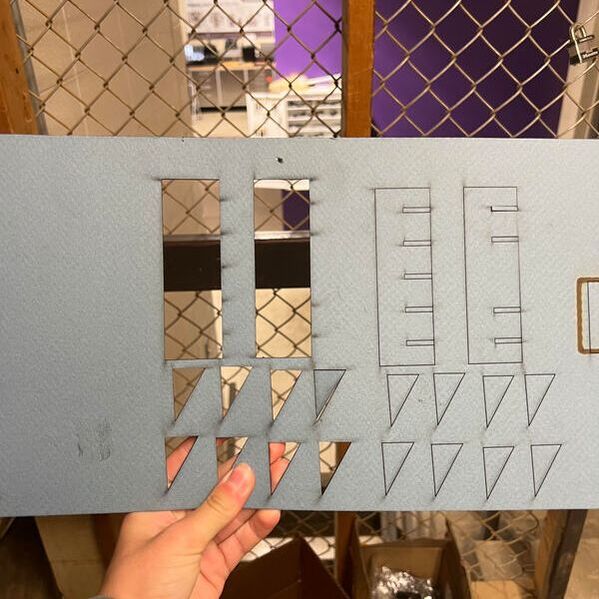
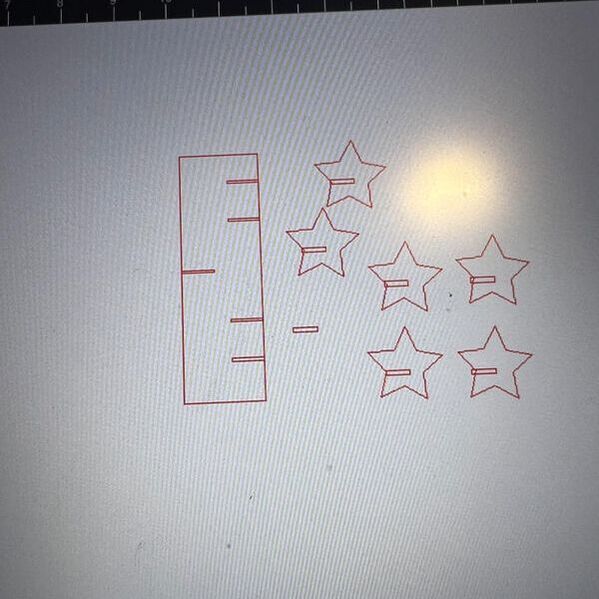
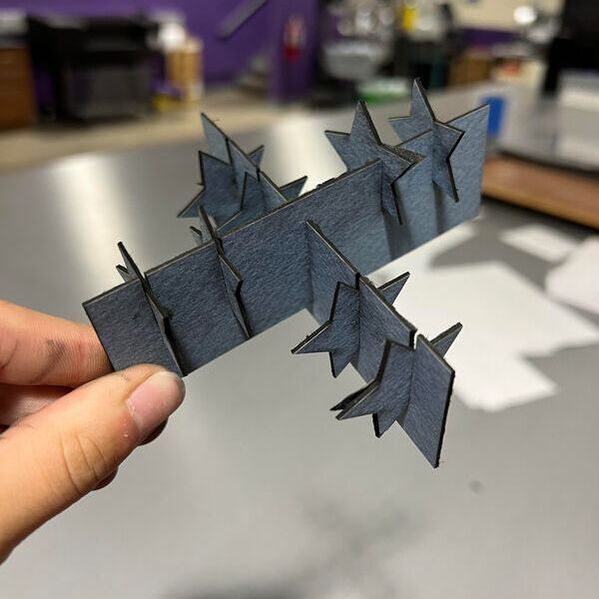
For my 3D object, I went on Pinterest to get some inspiration. I decided 3D snowflakes would be a pretty fun idea, and decided to do something similar to the image on the top left. However, after printing it all out and trying to assemble it, I soon discovered the triangles would not stay in. So I redesigned it, this time using starts, and cut out small rectangles, with a width of the thickness of my material, which was .065. After printing it all out, it finally all came together and the final product is on the top right.

