Start to finish...
|
|
|
|
|
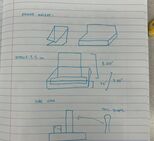
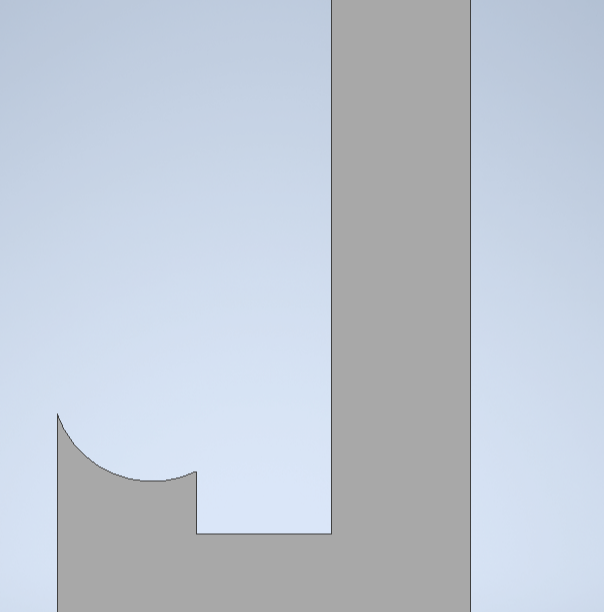
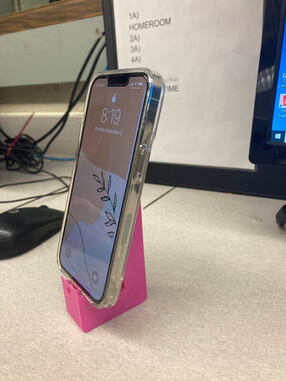
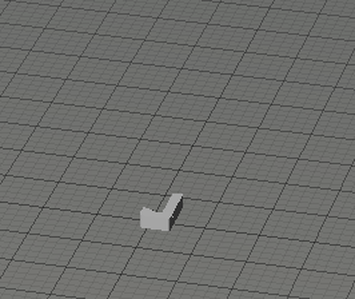
At the start of my project, I had the option of creating a toothbrush holder, coin holder, and iPhone stand. I ended up choosing the iPhone stand. From there I went to planning. Thinking about the shape, dimension, and special features were all things I had to consider. I ended up adding a few things, such as my name and a hole for a charging cord. After creating my stand in inventor, I uploaded it to MakerBot, and finally transported it back to my flash drive, to use at the printer.
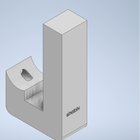
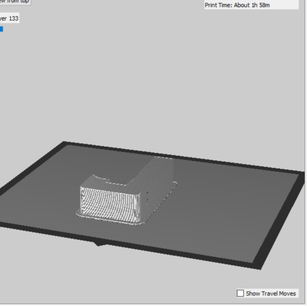
MakerBot Preview/ Setup
|
|
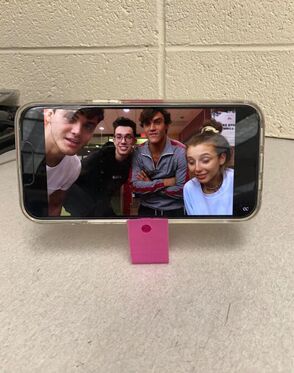
Final Product

|
|
Overall I am very happy with how this stand turned out. I love the color, and the size is just big enough to hold my phone, without threatening to tip over. If I could change one thing, it would be the size and placement of the hole for the charger.
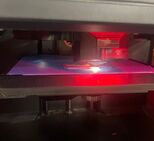
In the course of this project, I learned several things about 3D printing. Using inventor was something I was very poor at in the beginning of the semester. However this project has helped me become more comfortable with the tools on that platform. Dimensions are extremely important, and messing them up can and will effect whether or not an object successfully prints. For that reason I made sure the measurements of my stand accommodated my iPhone, as well as the 5'' restriction. I learned how to use the text feature on inventor, and added my name at the bottom of it for a small, personal touch. Using the printer, I learned that everyone's print will take a different amount of time. For example, my phone took around 2 hours. Considering how pleased I am with how mine turned out, I would say making something as small and functional as possible is smart, so that less material is wasted, and it will take less time to print.

